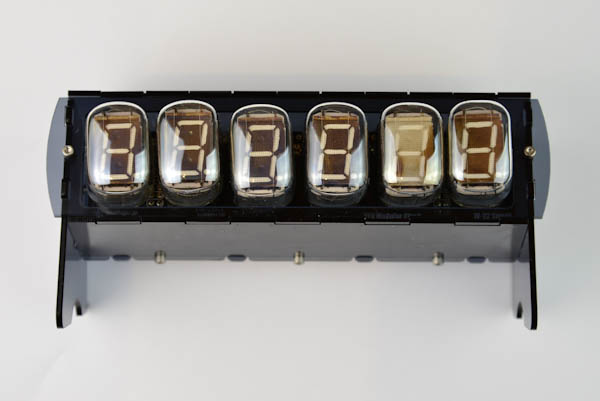
IV-22 Acrylic Case Assembly
Here are the included case components. The acrylic plates have a protective seal on them that must be pealed off before assembly.
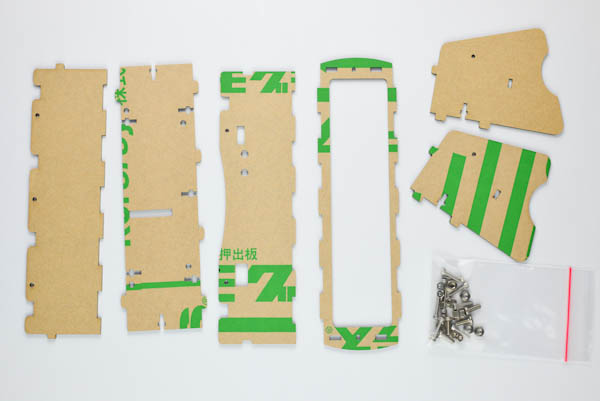
Parts
2mm smoke gray acrylic plates:
- 2x side panels
- 1x bottom panel
- 1x back panel
- 1x front panel
- 1x IV-22 top panel
Screws:
- 4x M3-8mm screws
- 8x M3 nuts
- 9x M2x10mm screws
- 9x M2 nuts
You will need a screwdriver and the following bits to assemble the case:
- star bit
- allan 1.5 or torx 6 bit
Step 1
Remove plastic screws
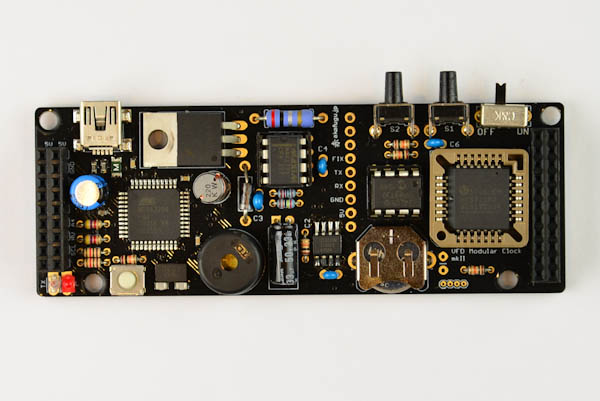
Step 2
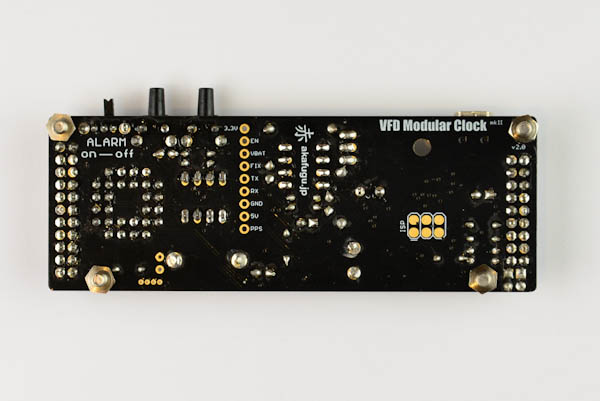
Insert 4x M3 screws and 4x nuts underneath. Take care to look for shorts
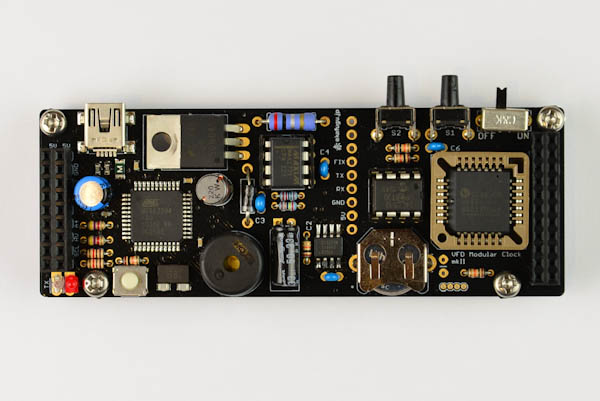
Step 3
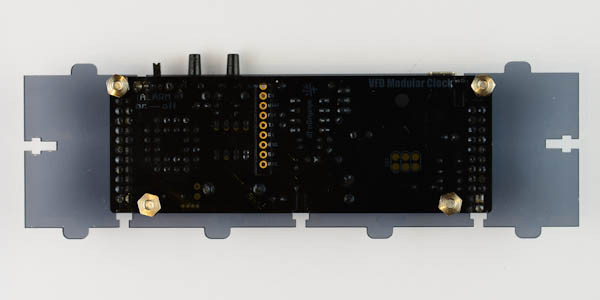
Insert bottom plate

Fasten last four nuts
Step 4
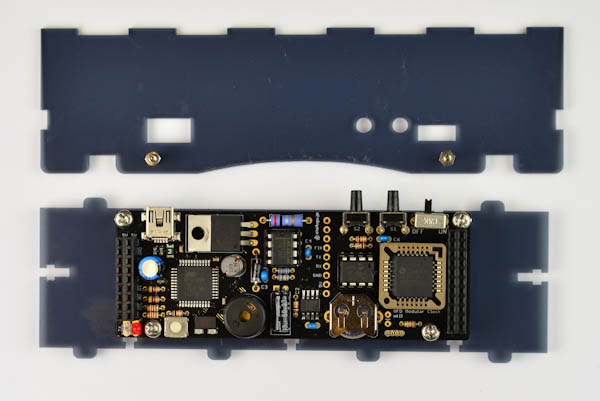
Insert two M2 screws into back plate and gently insert M2 nuts, do not tighten
Step 5
Attach back board to side board, sliding the screw nuts into the holes on the bottom board. Make sure the slots on the back board rest on the bottom board. Now tighten the screws. Once this is performed, the two boards should be attached to each other at a 90 degree angle.


Step 6
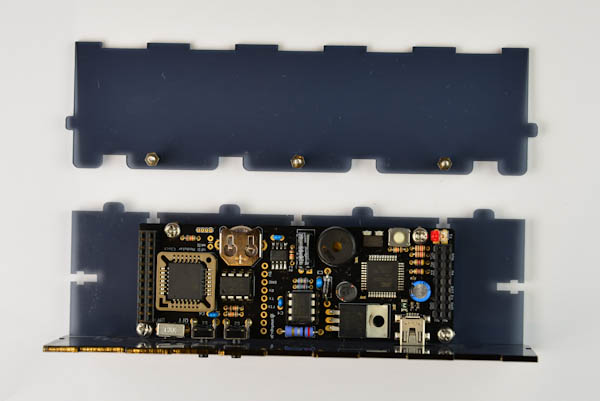
Repeat the procedure for steps 4 and 5 with the front board. This time there are three screws.
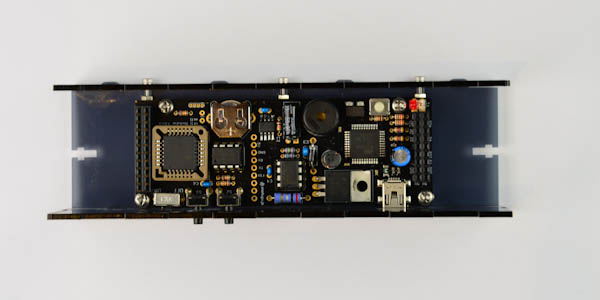
Step 7
Insert the display board.
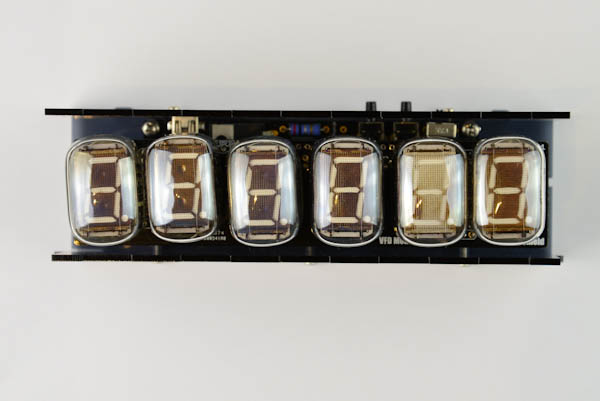
Step 8
Now attach M2 screws to the two side plates as shown. Loosely attach nuts so that you can slide the plates to attach to the case.
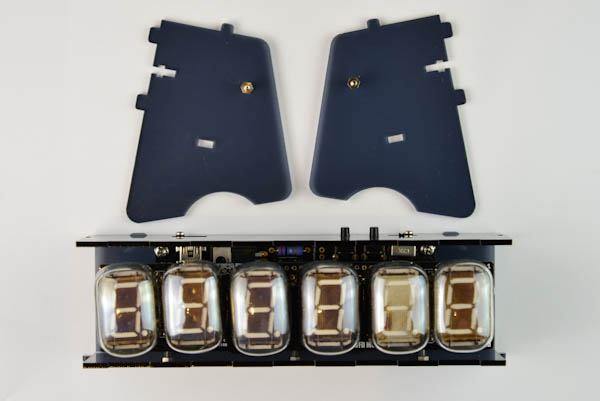
Attach and fasten.
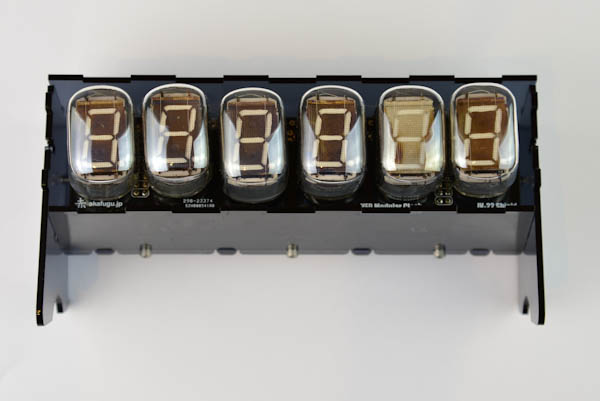
Step 9
Attach the top board. Carefully snap in place so it mates with the jagged edges of the back and front boards.
For these two screws, gently slide the screw nut into the hole and hold the board at an angle, then insert the screw from the top hole and screw it in slowly so that it mates with the nut.
This bit is quite fiddly, so take your time.
