IV-4/IV-17/IV-6 Acrylic Case Assembly
These instructions apply to the following enclosure types:
- IV-4/IV-17
- IV-6
The cases are identical, except for the top panel.
Step 1
The first step is to peel off the protective tape from all the acrylic pieces.
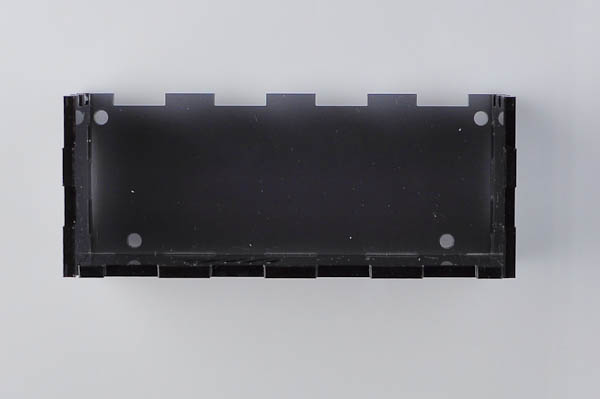
Once that is done, locate the following pieces:
- Bottom plate (it has four screw holes in it)
- 2 side plates (the smallest ones)
- Front plate (it has diagonal air slots, and no other holes)
The bottom plate should be oriented so that the two screw holes furthest apart face the front.
NOTE When clipping the pieces together, be sure not to use excessive force as it may damage the acrylic.
Step 2
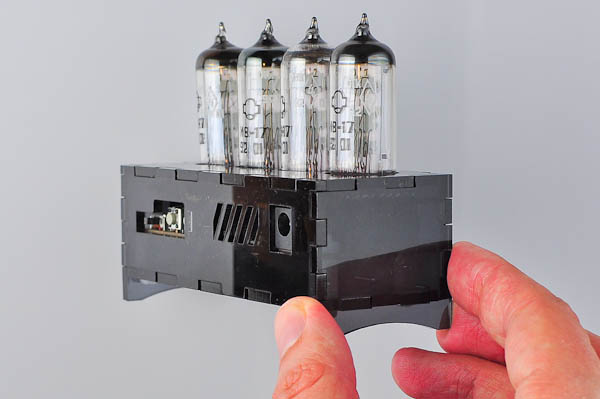
The pieces will fit together only one way: Rotate the pieces until you find the correct orientation. Start by sliding the two side plates onto the bottom plate. then clip the front plate on so that the diagonal air slots point to the top left.

Step 3
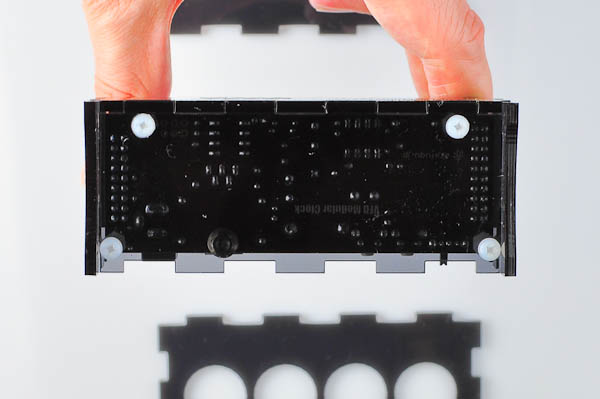
Now, place the VFD clock so that its legs match up with the screw holes in the bottom plate. Secure the VFD clock to the bottom plate with the four screws included. Be careful against overtightening as it may break the nylon screws.

Step 4
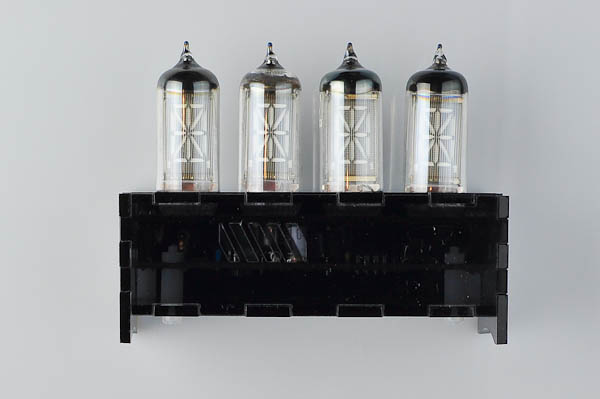
Once the four pieces are put together, locate the back plate and the top plate.
First insert the top plate over the tubes, and then finally the back plate.

